Phone Photography 101: The Basics for Taking Amazing Phone Photos
Hello ladies, men and non-binary friends! I hope you’re all staying safe, healthy, and inside! Unless you’re working an essential job, then I’d like to say a huge thank you from me and everyone here at Shoetopia for working the front line that was definitely not part of your job description.
Since we're all stuck at home, what better time to step up your Insta-game? Any phone these days takes incredible photos, but the gear only gets you so far. A bad photo is a bad photo, whether it's taken on a Canon 5D Mark III or an iPod Touch 4. I actually took all of these picture in this blog on my iPhone 5S, so no super up-to-date technology here! Anyway, here are some super simple photography tips to help you use your phone to its full capacity and take some amazing photos!
Composition
Composition in photography refers to where everything is in relation to everything else. Is the subject of the photo in the center or upper right corner? What's in the background and can you see the whole thing or is it slightly cut off? Good composition draws the eye of the viewer to the subject of the photo and is the make or break between a nice photo and a great photo.
Rule of Thirds
 Probably the most well-known “rule” in photography, the rule of thirds is a composition guideline that breaks an image into thirds, horizontally and vertically. This gives you four focal points, shown as pink dots in the grid to the right, where the lines intersect. Generally, you want the focus of your photo, like a face, to fall on one of these points. The basis of this “rule” is that composing an image like this gives a more balanced feel to the image. And it’s not just a feeling either! Studies have shown that our eyes naturally look at these intersecting points before the center of the image. This is why, if you're looking at two nearly identical photos of yourself, you might like one more than the other without any reason beyond, "I don't know, I just like it more." The one that you like probably is composed with the rule of thirds!
Most phones actually have a grid feature that you can turn on to help you compose photos like this. On an iPhone, go to your settings, scroll down to the camera, then turn the grid on. This is probably the case for most phones, or you can turn the grid on in the actual camera app. If you can't find it, a quick Google search ("turn on camera grid [phone brand/model]") should help you out. In these phone screenshots, you can see that I now have a grid on my camera screen that helps me use the focal points to take a picture of my coffee and current daily schedule. This grid is also a great way to make sure the horizon is straight in your photo!

Symmetry
Symmetry in photos can be a wonderful thing, but let's keep it simple and focus on posing in photos. As a general rule, keeping yourself asymmetrical looks more natural and relaxed. For example, like in the photo below, my roommate (shoutout to Ethan for humoring me), has both his hands on hip hips and is standing directly facing the camera in the center of the frame, which looks pretty forced and unnatural. In the second picture, he created some asymmetry by having one hand in his pocket while the other rests naturally at his side. He is also not centered in the frame, loosely following the rule of thirds.

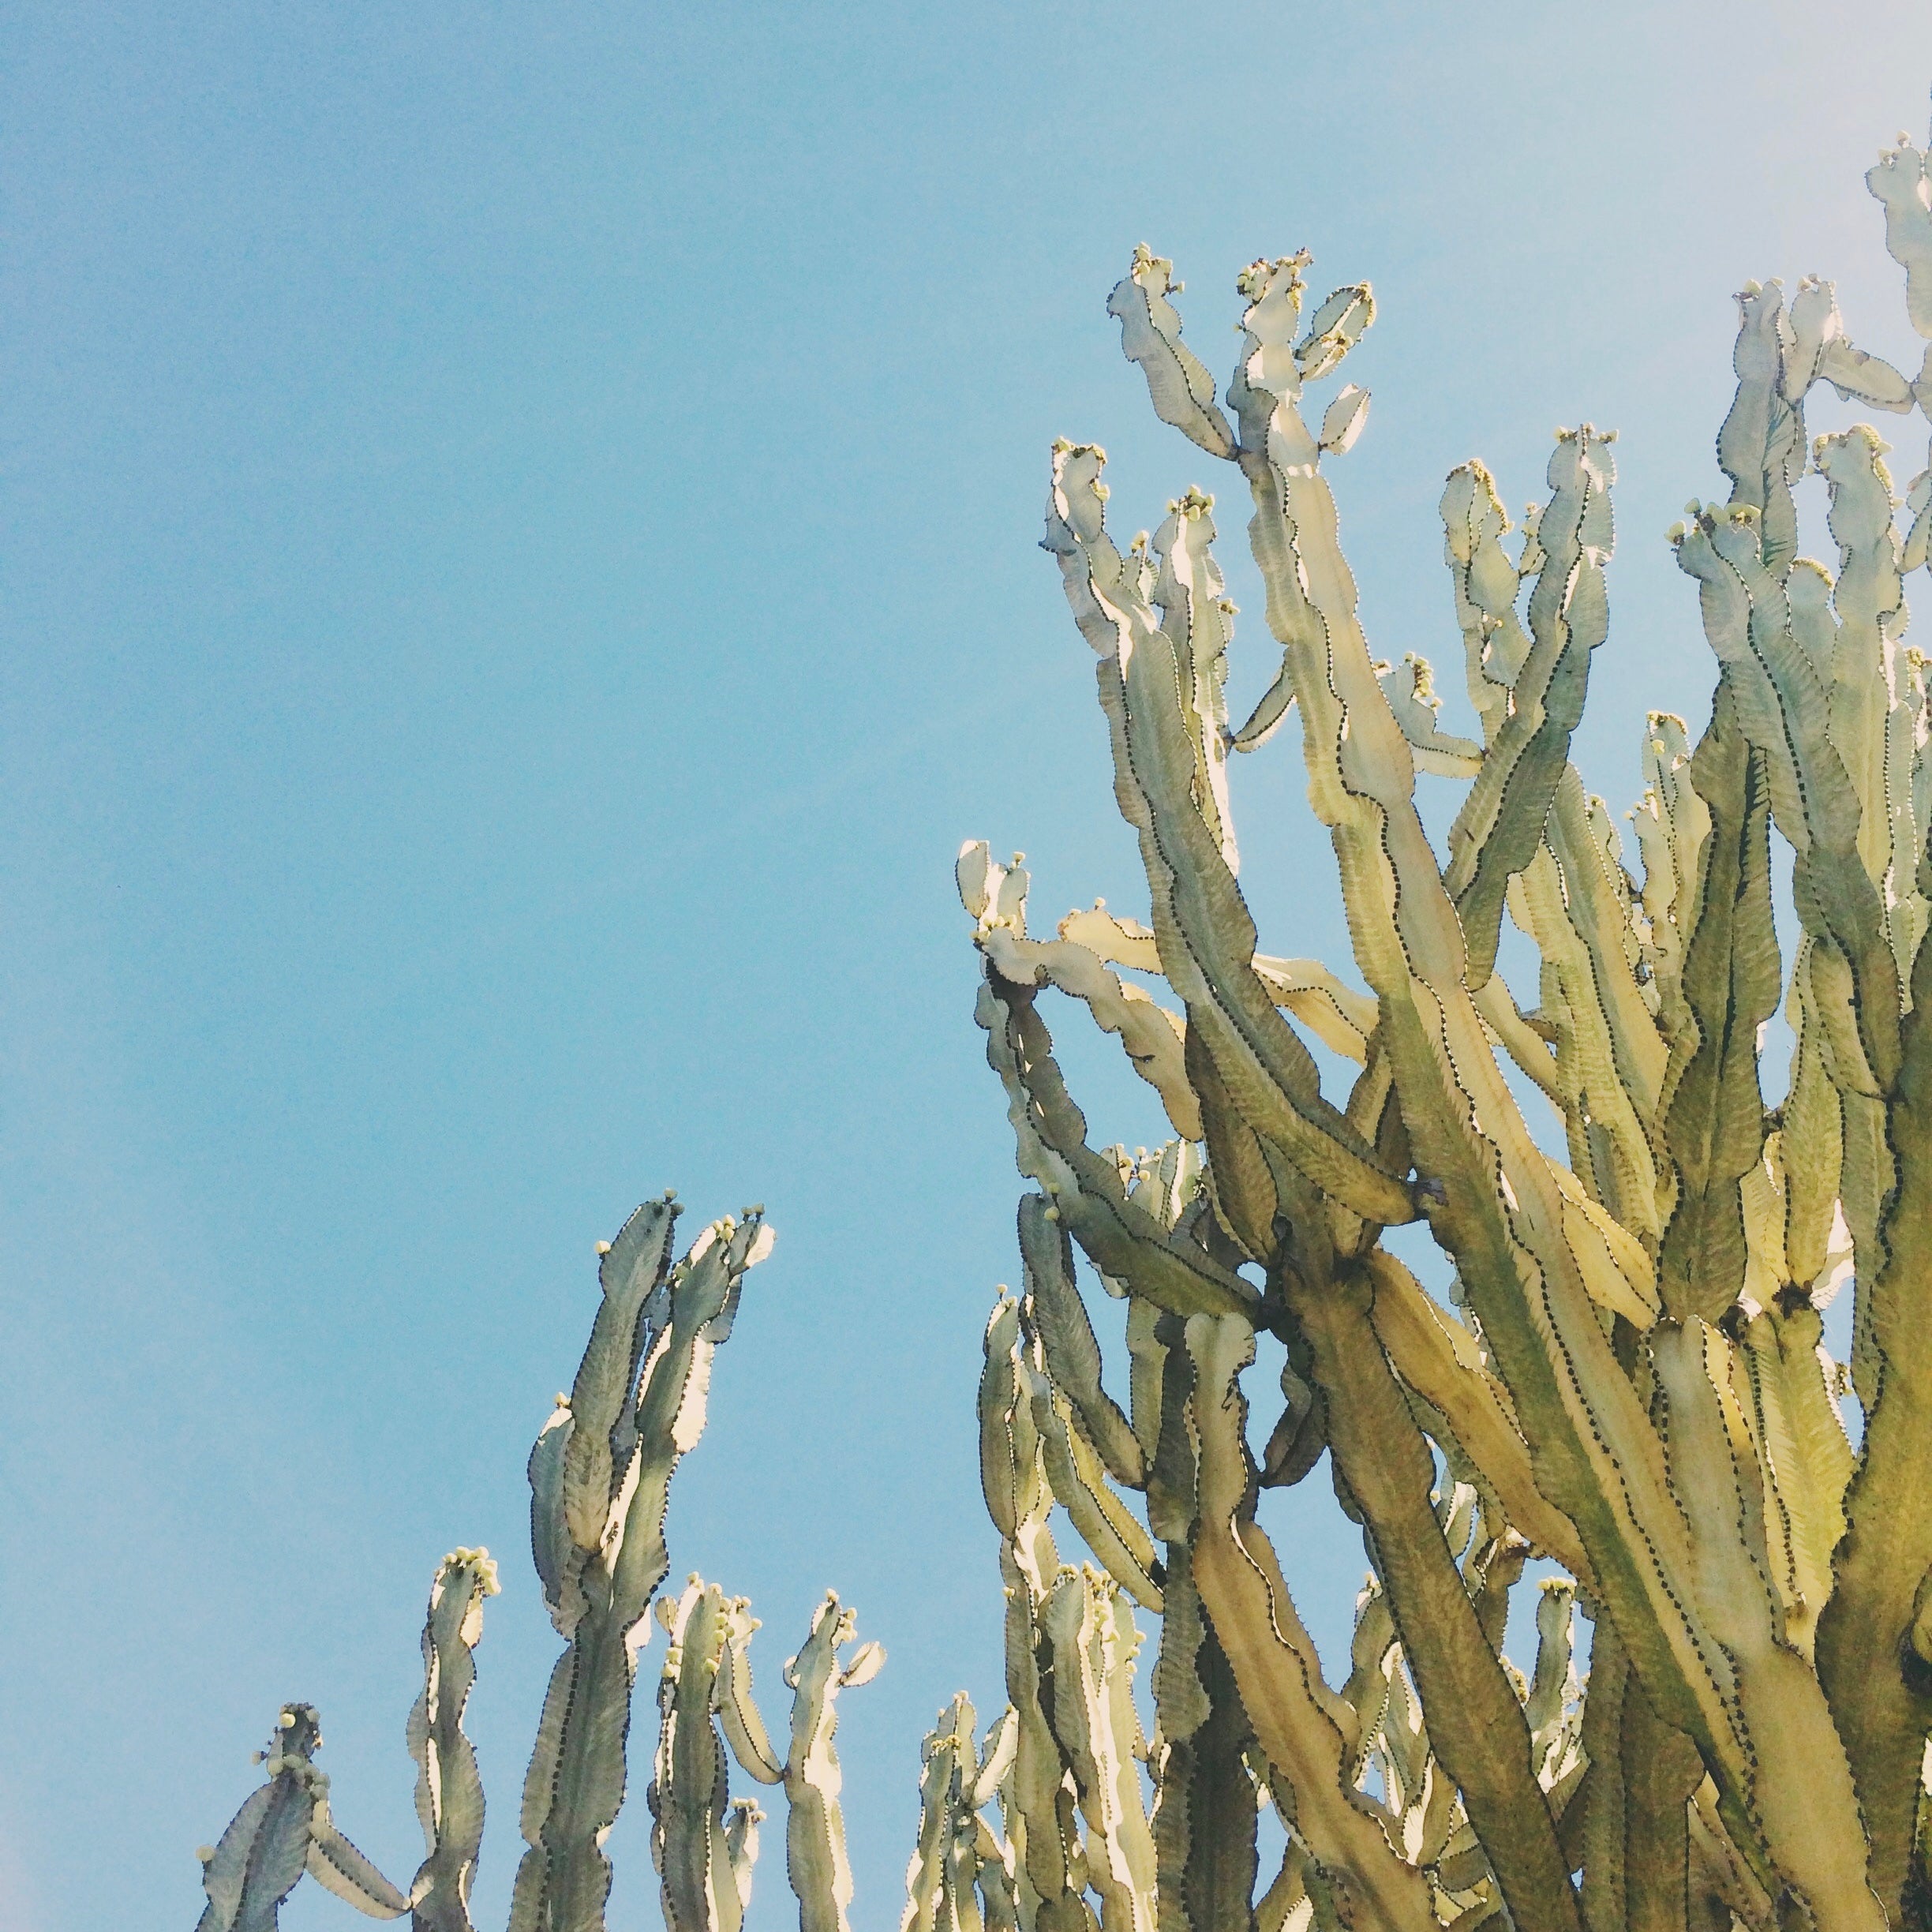
Negative Space
Negative space, or empty space, is an empty area in a photo that helps draw your eye towards the subject of the image. Negative space also keeps images from getting too overcrowded, which makes nothing stand out. Think of negative space as breathing room for a subject.
In the first cactus photo below, the cactus takes up nearly the entire image, whereas in the second, you can see a lot more sky. The second photo still shows that the cactus is enormous but gives the photo more context since you can see the sun shining through. It also doesn't crowd the edges of the photo as much, leaving a whole third of the photo empty.

Lighting
This one is pretty simple. Face the light and use natural lighting whenever possible! Whether you’re taking selfies or photos of your friends, find the light source and face it. Even on a completely overcast day, the direction the sun is shining makes an enormous difference. What if you’re outside and want a picture in front of something, like the sign for a national park, but the sun is behind you? Turn the flash on! This way you’ve still got a light source on your face to help counteract the shadows from the sun.
Here's me, with the light source behind me and the light source on my face. On a phone, natural lighting (the sun) is always going to look better than indoor lighting, so get some Vitamin D and your selfies at the same time!

Perspective
Perspective is anything that helps put a photo in context or add depth. This is especially important for landscape photos, but it can be a lot of fun to play around with even in selfies. Generally, perspective is created by having something closer to your camera that’s out of focus, just enough that you can still tell what it is but blurry enough that you know it’s close. Phone lenses can be a little tricky to do this with but it’s definitely worth trying! An easy way to figure out how this works is to just pick a few pieces of grass and hold them in front of your camera lens at various distances and see how they look.
I really like how the photos of this cute house turned out, even though they're so simple. The branches really add a lot of depth to the image and make the house seem a little cozier.

Editing
Now that you've got a picture you like, let's edit a little to make it look even better, and I don't just mean adding a filter! As I mentioned earlier, lighting can make or break a photo, so it makes sense to adjust that first. Even just changing the exposure, adjusting shadows and fixing the white balance (what the camera sees as "white" and adjusts the other colors off of) is often enough to make a picture look a lot better. In the car photo below, all I did was select "white balance" and use the "auto" setting.
Most phones let you edit pictures right in the photo app, but I prefer using a couple different third party apps. My favorite free apps to edit photos with are Snapseed and VSCO. Adobe Lightroom is a super popular desktop editing application and they do have a free mobile version but it's limited to the very basics, making it about the same as any other free app. That being said, here's a quick rundown of the pros and cons of VSCO and Snapseed. These are not sponsored, they're just apps I actually use!

VSCO is incredibly popular for its wide range of trendy filters, so much so that "VSCO girl" has become an actual term for that "I do bullet journals and carry a cute water bottle with me everywhere I go" aesthetic. VSCO is really user-friendly and lets you adjust the basic lighting and add filters on the same interface. I like that you can adjust how much "filter" you want on a photo; it's not just a one-click and you're stuck with it. On the downside, VSCO only offers a handful of free filters and its editing capabilities outside the filters are very basic.
Snapseed is a really great app for adjusting specific parts of a photo. They have a wide range of features that are a little more advanced than just filtering, so if you know a little more than average about photo editing, Snapseed is a great option. One of my favorite features is the "selective" tool, which lets you pick a spot and then adjust the lighting and color of just that area. Unlike VSCO, Snapseed has a retouching tool, which is so handy for zapping out any acne, dirt or the occasional ex. They do have filters as well, but they're not my favorite. The downside to Snapseed is that it's not super user-friendly. Some of the adjustment features are not intuitive to use, there are so many features that some of them feel redundant and Snapseed uses their own names for things like exposure and luminosity, which can be confusing at first. That being said, once you get used to how the app works, it's a really great tool.
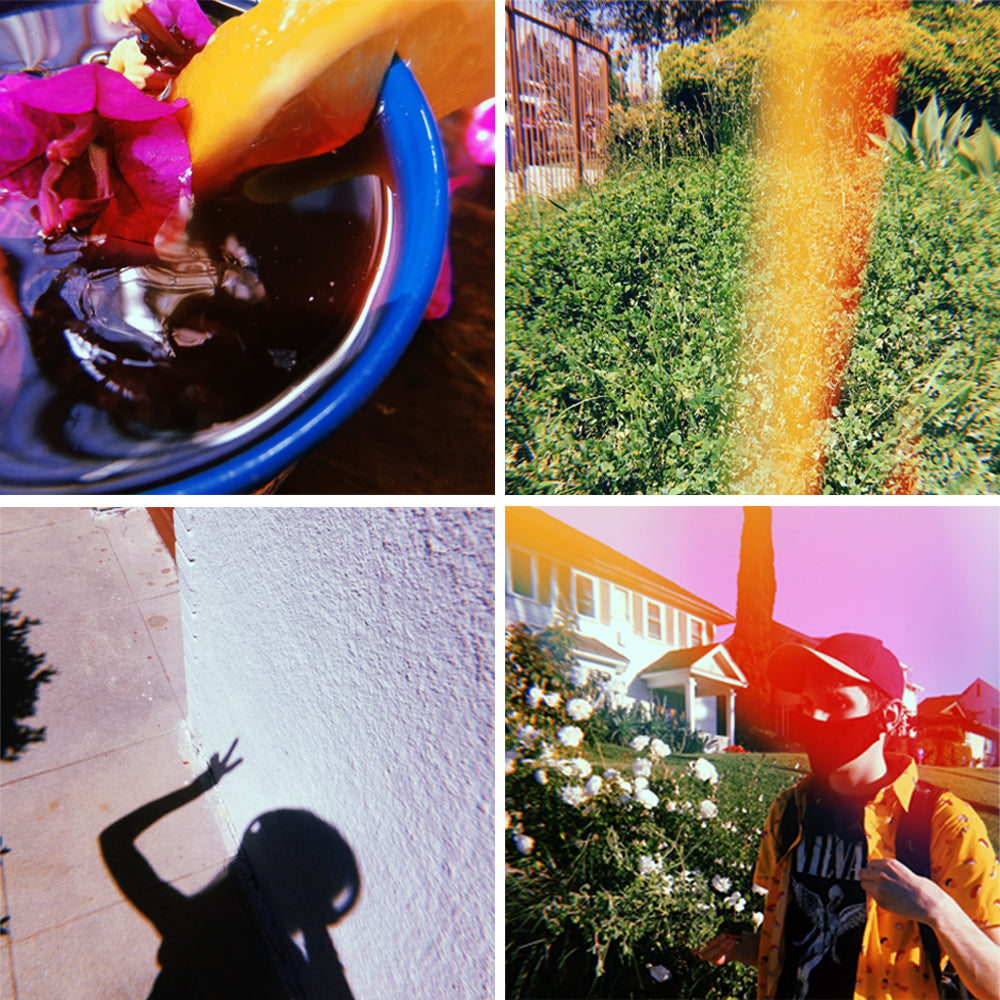
I know this sounds cheesy, but the most important thing about any photography is to have fun! Play around with lighting, editing and posing in your photos and see what you like. Keep an eye out for neat shadows or bright colors and try looking at things you see every day in a new light. If you need a little inspiration to get started, check out the photos I took while just walking around my neighborhood!

As always, remember to tag us on Instagram in your posts or stories @ShopShoetopia or with the hashtag #ShopShoetopia!
-xx Laura