Life Hacks: How to Sew a Button
Hey guys it’s me Laura, your midwestern mom, here to teach you basic life skills! When I was a little kid, my mom tried and tried to teach me how to sew and for some reason I absolutely refused like my life depended on it. Then one day, I finally agreed to sit down with my mom for a few minutes as she showed me how to thread a needle and tie a knot. She helped me pick out some green velvet to fold in half, then stitch with yellow thread to make a little pouch. For a finishing touch I added a pretty shell shaped bead with a snap as a clasp. And just like that, after all my whining and complaining, I realized sewing was fun!
Admittedly my sewing career started and ended with little pouches and the occasional Barbie dress, but I have always been so, so glad I did finally let my mom teach me to sew. From fixing holes in my socks to tailoring a shirt to fit a little nicer, being able to sew has been such a helpful skill to keep in my back pocket.
One of the most basic and useful sewing skills to have is being able to sew a button. Whether it's repairing your own clothes or saving the day for someone else, I can almost guarantee that there will be a time in your life when you're glad you can do this. Follow the steps below to learn this simple skill!
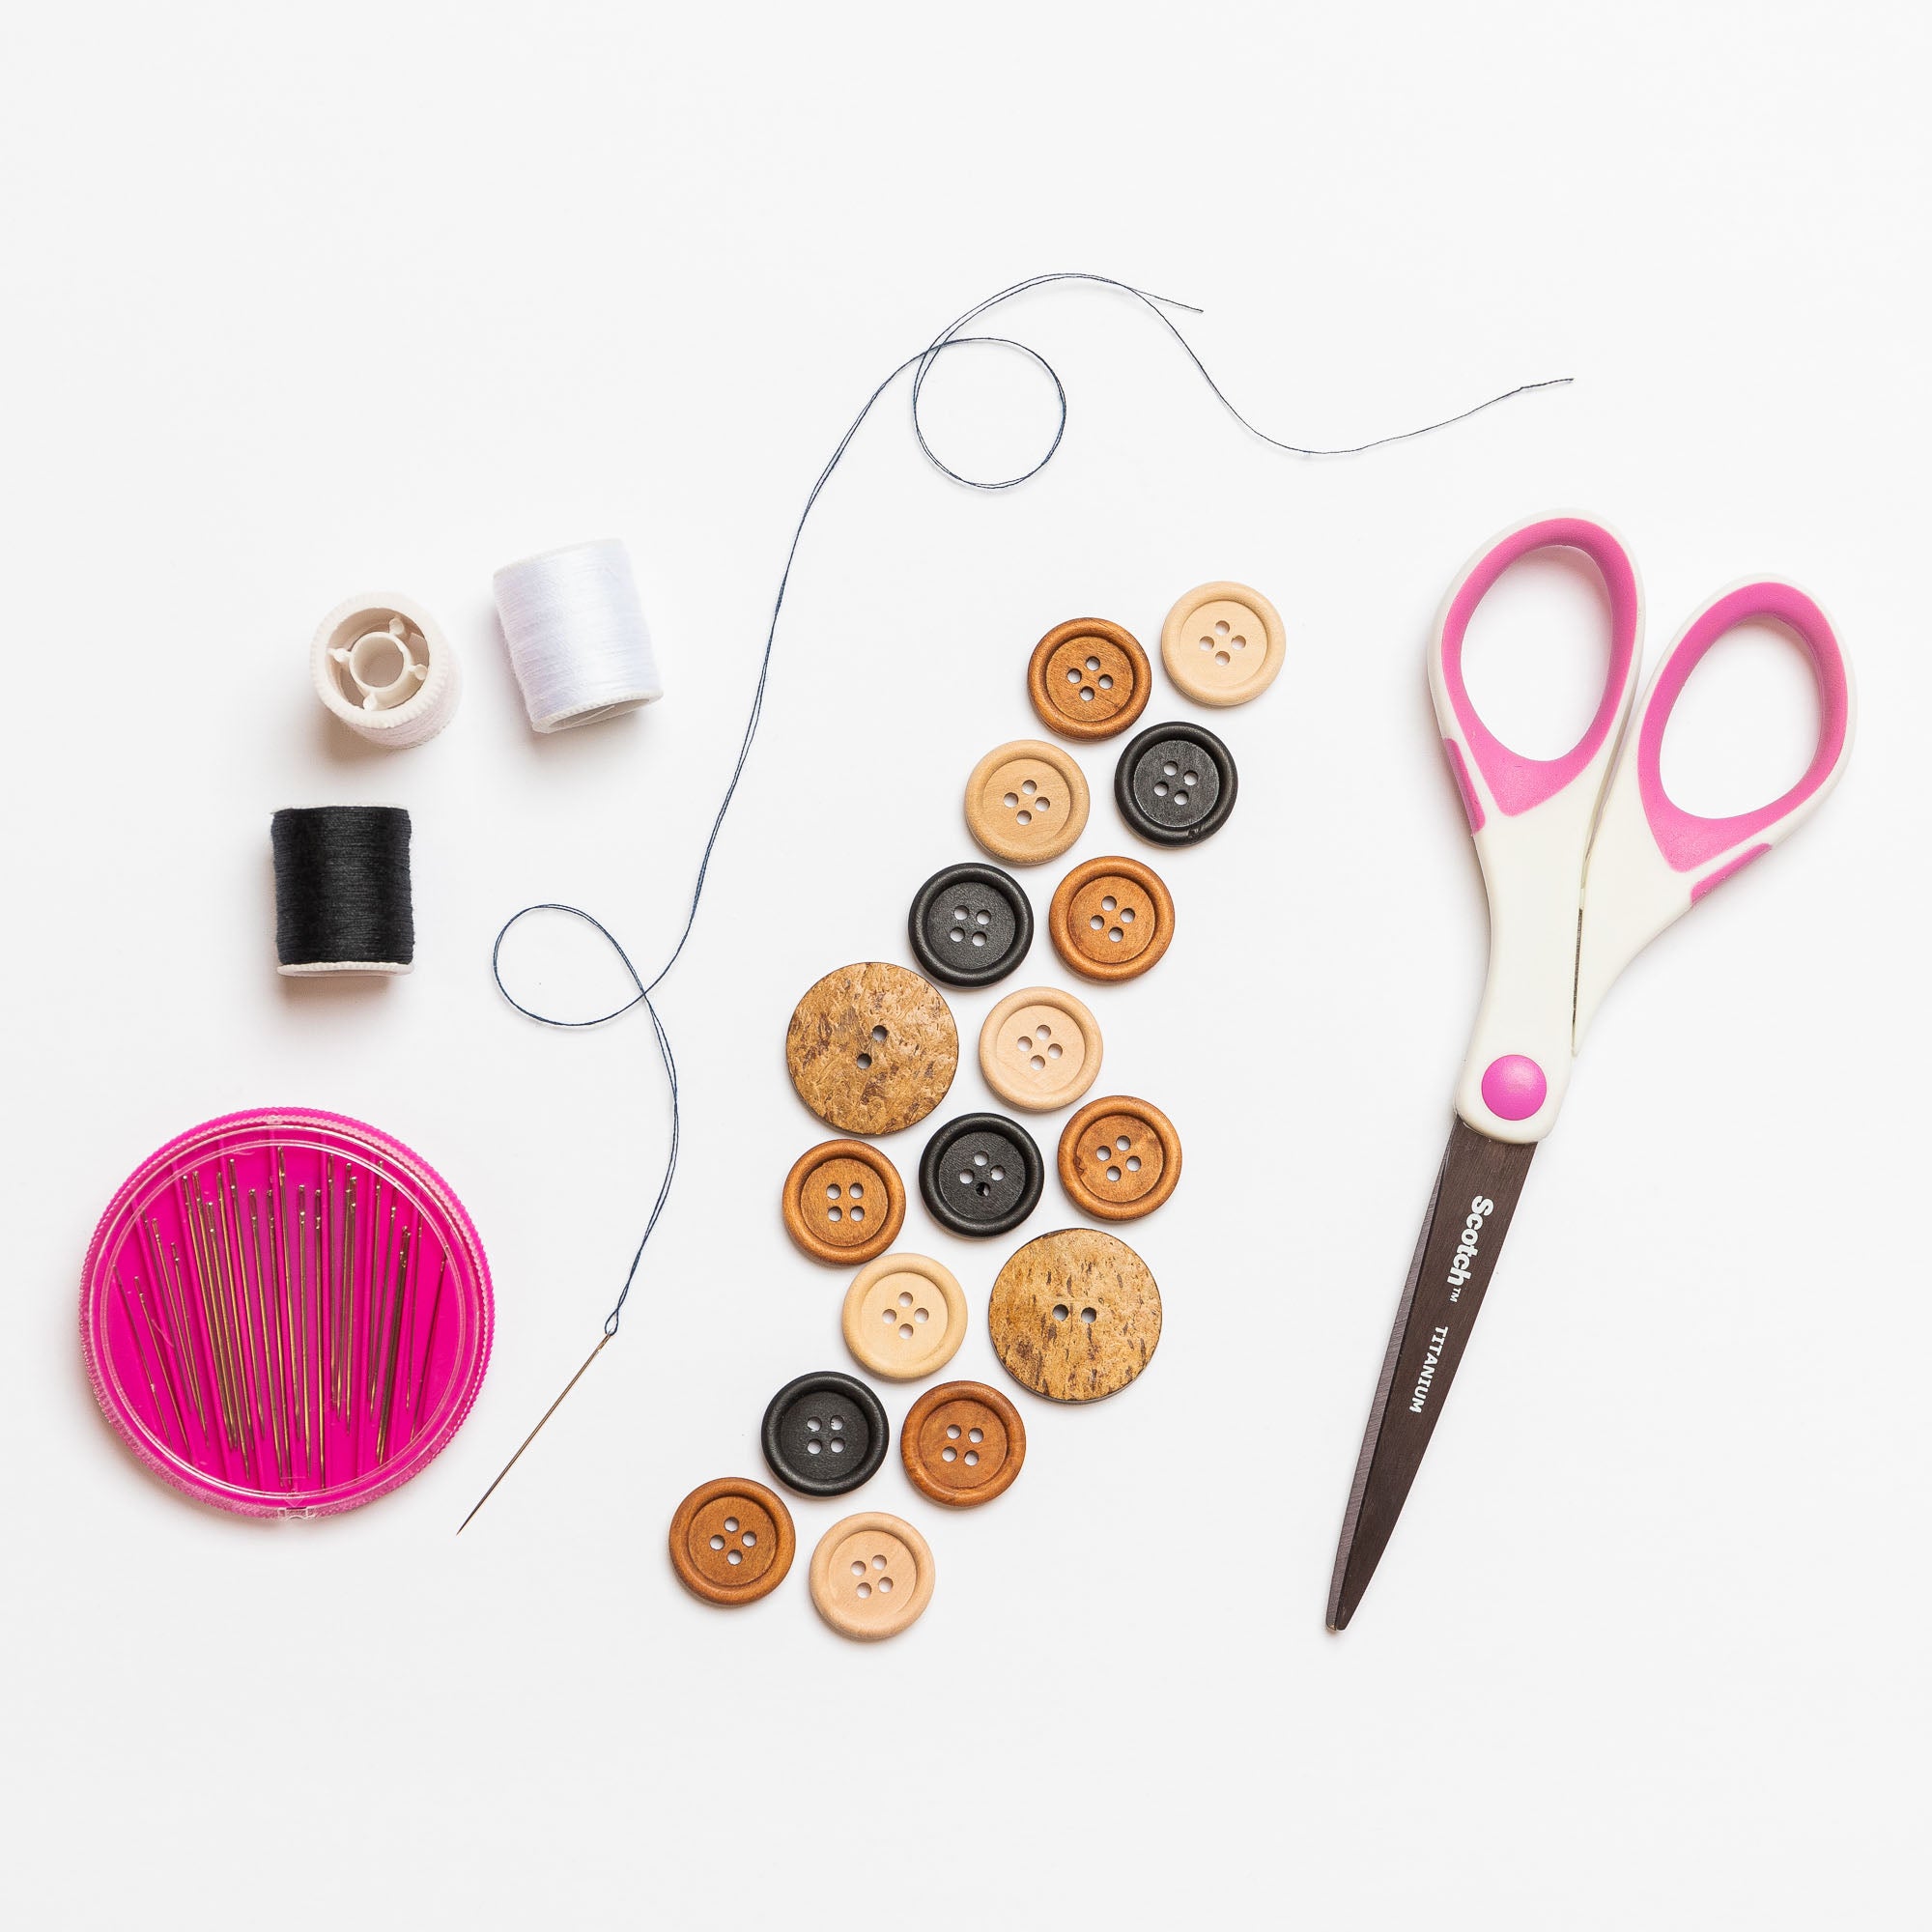
Thread the Needle
To thread a needle, pinch the end of the thread between your thumb and pointer finger. Then line the eye of the needle up with the thread and slide the thread through. If the thread is frayed on the end, trim it just a bit so it’s smoother and easier to thread.
Four Hole Button
For this button, I threaded the needle, leaving a few-inch tail, then tied a knot at the other end of the thread.
This way of tying a knot in thread is a little trick I learned from my mom. Since a single knot is often small enough to slip right through fabric, you need at least a double knot. This trick takes a little practice but once you’ve got it down, it’s a super quick and easy way to get a bigger knot right off the bat.


Two Hole Button
For this button, I decided to double the thread to speed up the process and get a smoother finish. I did this by threading the needle, then folding the thread in half so the needle is at one end and the loose ends of the thread are even together.


Happy mending!
-xx Laura